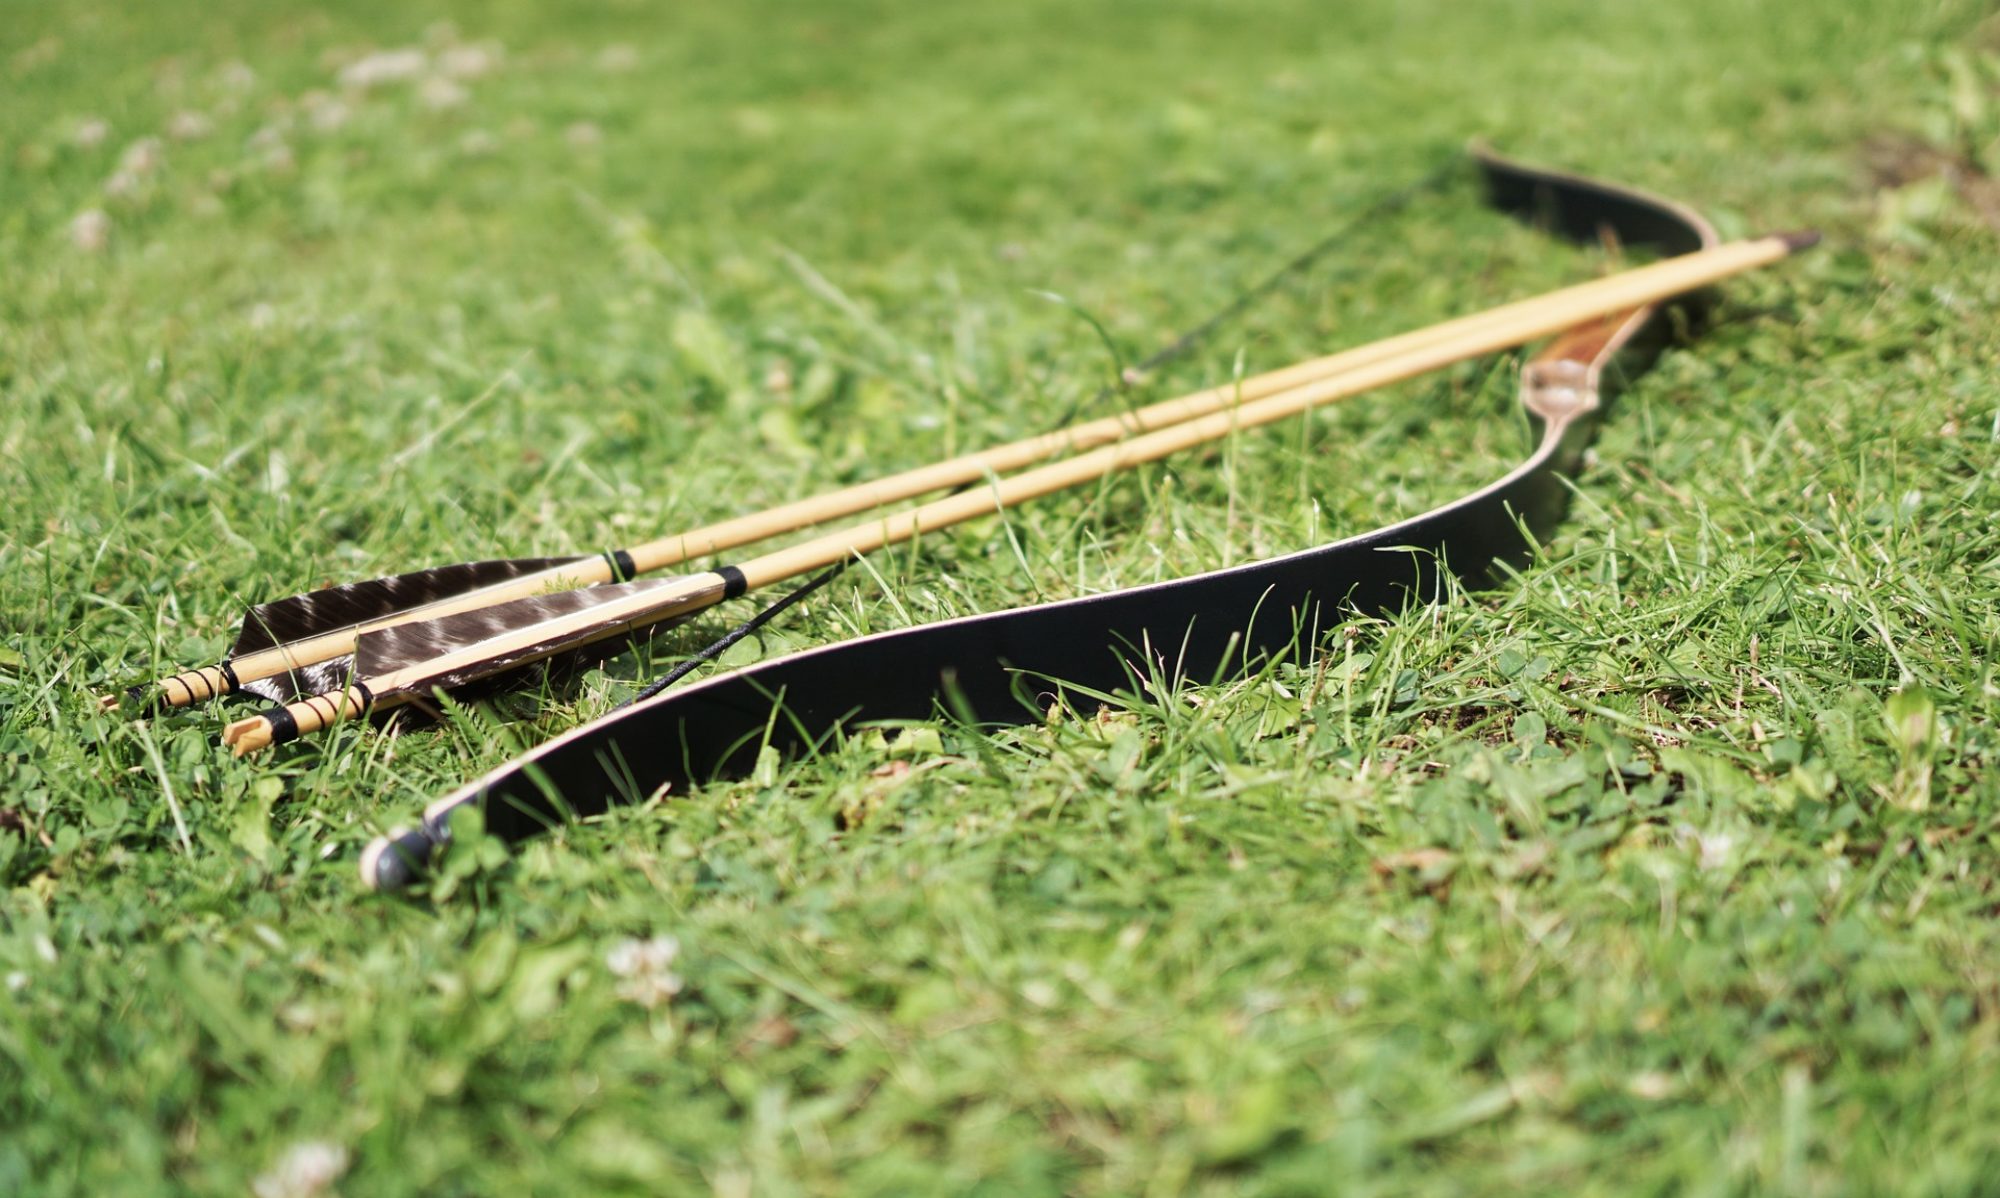
“…and, once able to shoot correctly, progress to a bow a little more powerful than the one he has been shooting and again shoot at the practice drum for some days. Every few days he should take a more powerful bow until he has worked through five successive bows, each stronger than the one before, and the fifth most powerful of all.” – Ṭaybughā
Not much to add here except to say this could be the longest step in the learning process because of the step-wise increase in draw weight and it is focused on building the novice’s physique in addition to further cementing the fundamentals. This is how the Mamelukes built the upper body strength to deftly wield bows beyond what the modern archer considers a reasonable draw weight.
At this point, you should give some thought to what your goal final draw weight will be. I have settled on 50# as mine. The reason for this is Saracen Archery has a whole section (Chapter 19) devoted to Flight Archery, which is a sport I had never head of before reading the book. Modern flight archery associations (like US Flight Archery) have divisions based on bow style and draw weight. For primitive bows, the current divisions are 35#, 50# and 70#. I think 50# sounds like a happy middle ground for me. I also want to be able to comfortably wield a 50# bow for the sake of someday passing Ṭaybughā’s Tests of the Archer, which I’ll cover at the end of the guide.
As for how to achieve your goal, there are a few ways. Of course, you can buy lots of bows, but I personally can’t afford to buy a bow of every draw weight between 20# and 50#. Instead, I looked around for an archery exerciser and found one for around $45 US online. It can be drawn to various weights and seems compatible with the Thumb Lock so that’s what I’ll be doing for a while. Look around for a solution that works for you!
Loosing II (the Follow-through) – Loosing III (increase weight) – Loosing IV (max weight)
