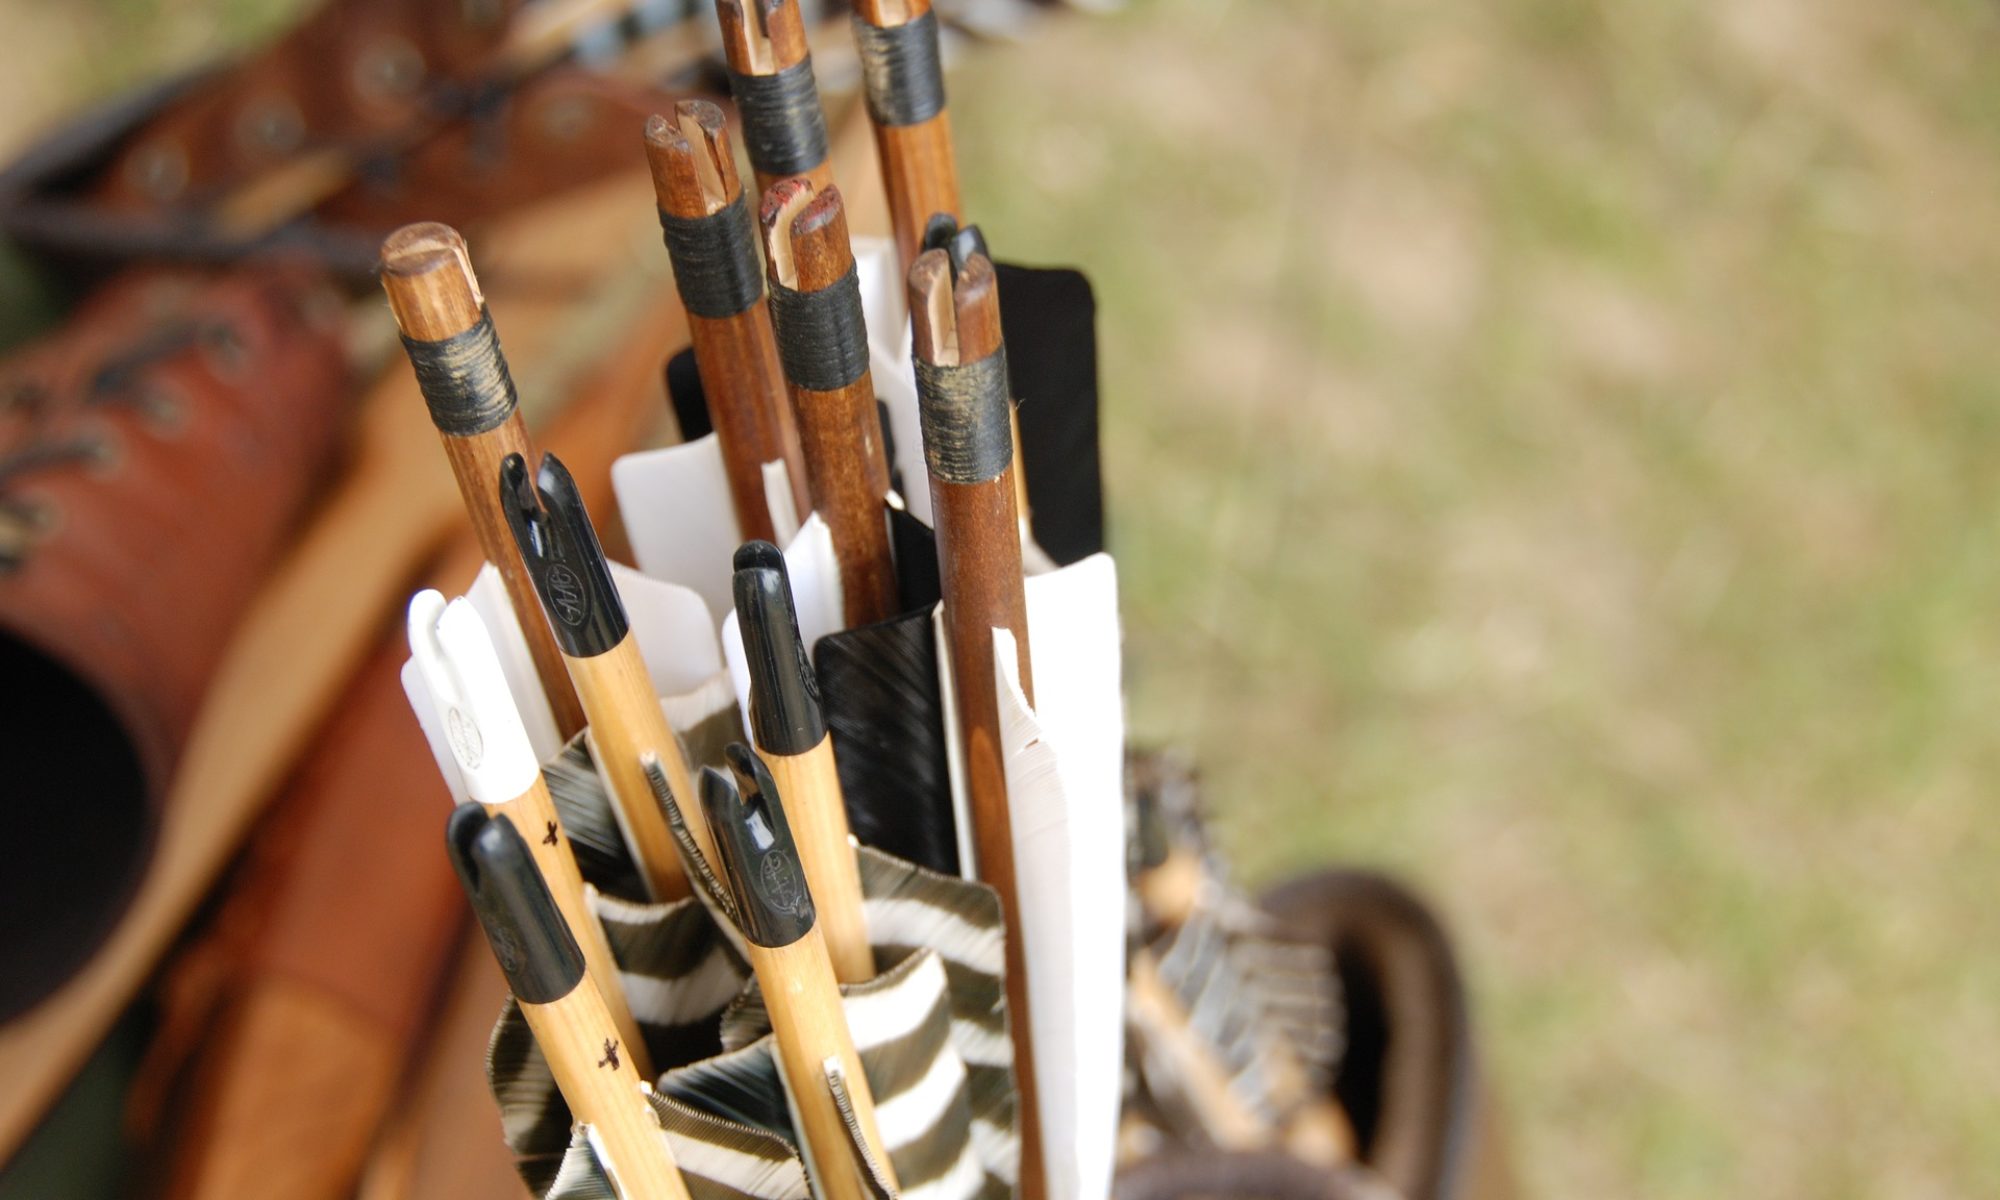

“The first thing that a learner should do is to take a light bow…grasp it, and draw with the three appropriate fingers for some days until he can apply the correct grasp.” – Ṭaybughā
Grasping is much more than simply picking up the bow by the grip. Holding the bow in the correct way with the correct fingers at proper tension is what enables some of the more staggering feats of Mameluke archery. It is the foundation upon which the entire tower is built. Each digit is placed and held in a specific way and each has a specific job.
You may have noticed the “three appropriate fingers” part of that quote. What about the thumb draw? My interpretation is that the reason novices start with a three-finger draw is that the focus of this stage of learning should be exclusively on the Grasp. No arrows are used yet so a proper Lock on the string isn’t necessary. A three-finger draw is intuitive and simple and the idea is to not burden the novice with learning too much at once. Also, you’ll see another good reason for starting that way in a moment.
Briefly review the following diagram (Fig. 18) so we can have a common terminology.

Take your bow up by one of its limbs using your Draw hand in a way that makes it easy to turn so you can see both back and belly of the grip as needed. We will be focusing first on only the middle, ring, and little fingers of your Grasp hand. While looking at the midline of the grip’s back, place the middle of the proximal phalanxes of the three fingers onto that midline. Wrap them around the bow in sequence, starting from the little finger up. There should be decreasing pressure from each finger with the little finger pressing hardest. Keep your thumb and index finger relaxed and away from the grip.
You may be wondering how high up or down on the grip you should have your hand from a vertical perspective. Plan your Grasp so that your thumb would end up at the level just under the deepest concavity of the arrow pass. If your bow doesn’t have an arrow pass, put the gap between your middle and ring fingers in the vertical center of the grip.
BEFORE WE MOVE ON. Check the three wrapped fingers. You may need to make some modifications. See the image below which demonstrates a potential issue.

For average length fingers but a thin bow grip: If any of your three wrapped fingers touch your palm when Grasping, you need to thicken the grip, possibly by wrapping a piece of leather around it. Once you can wrap the three fingers correctly and there is roughly half a finger-width from them to the palm, you are good to go. Skip down to Fig 19 and check that your fingers are in the Intermediate position.
For long fingers: If you have long fingers and they press into your palm, stop here and thicken the grip of your bow as above, but also make the following change to your Grasp: instead of setting the middle of the proximal phalanxes against the midline of your grip, set the second crease of your fingers against it. Wrap the three fingers as usual. The Grasp should now feel more stable and look like the “Square” grasp shown in Fig 19.
For short fingers: Instead of placing the middle of the proximal phalanxes against the grip’s midline, place the proximal crease against the midline of the grip. Your three fingers should resemble the “Oblique” grasp below and the bow should feel more secure.
A NOTE ABOUT FIGURE 19: beware it is actually a partial “cut away” view and is actually showing the middle finger Grasping the bow NOT the index finger. The index finger has a special position described next.

Now that you have the bottom three fingers correctly wrapped around the grip, let’s move on to the index finger. Very gently wrap it around the back of the grip just barely past the midline such that the pad of the fingertip is resting lightly above the center of the middle phalanx of the middle finger. This is important because it keeps the index finger out of the arrow’s path when Loosing and it allows the thumb to lay flat. See below (but ignore that I haven’t fixed the grip thickness yet).

Please keep in mind the instruction to keep the Grasping index finger and thumb relaxed. If you ignore this advice and tense those digits, you will regret the habit when we get to Nocking and Drawing.
What you can’t see in the images here is that the bow is not being held perfectly vertically. In fact, the bow needs to be canted inward very slightly. Western archers may have a hard time getting away from the idea that the bow should be held perfectly vertical, but I give good confirmation on the Loosing II page that Mamelukes actually canted their bows (clockwise if the bow is in your left hand and counter-clockwise if the bow is in your right).
A brief word on your stance when preparing to Draw. Refer to Fig. 42 below. People of average proportions will be somewhere between the two stances shown. More oblique is always preferred because it allows a longer Draw and therefore more power to the arrow from bows of identical draw weight.

Back to Grasping and Drawing. Once you have examined your Grasp and found it correct, extend your left arm out as shown just above, then use the first three fingers of your Draw hand to reach and pull the string back in a line completely parallel to your Grasp arm until your fingers reach a line drawn vertically down from your ear lobe. This is a good time to emphasize the goal of the Draw is to end in a position where your Grasp hand, elbow, and shoulder are level with your Draw hand, elbow, and shoulder. They should all end up in the same horizontal plane. More on this later, but for now it would tremendously helpful to have a large mirror set at chest height to practice in front of.
Relax the Draw, but keep hold of the string (note how the three fingers can balance the bow by its string much more easily than if you were already trying to use the thumb). Release your Grasp completely then re-set it. Repeat this many times a day for “some days” until correct Grasping is muscle memory.
Here’s a video that summarizes and demonstrates this topic:
Bracing – Grasping (and intro to Drawing) – Locking and Drawing